The goal of this article is to help you hit the ground running with Rust and GTK (via gtk-rs) by setting up a project and build configuration to deal with:
- Compiling bundling resources
- Adding CSS and images
- Automating bundling resources at compile time
I will be using VSCode as my development environment on Ubuntu 20.04 in this article. However most of this guide is editor agnostic.
The full source for this guide can be found here: https://github.com/gh123man/Rust-GTK-Resources-Example
Dependencies
If you have not already set up your dev environment, you will need to install the following:
Rust: https://www.rust-lang.org/tools/install
GTK and build essentials
sudo apt install build-essential
sudo apt install libgtk-3-dev
Glade is a dedicated graphical editor for GTK, it is optional but recommended
sudo apt install glade
Structuring your project
First lets generate a new package (see here for more details)
$ cargo new rust_gtk_resources_example --bin
Lets also add a resources folder:
cd rust_gtk_resources_example
mkdir resources
Your folder structure should look like this:
$ tree .
.
├── Cargo.toml
├── resources
└── src
    └── main.rs
Try to run your project
$ cargo run
Adding a Glade resource
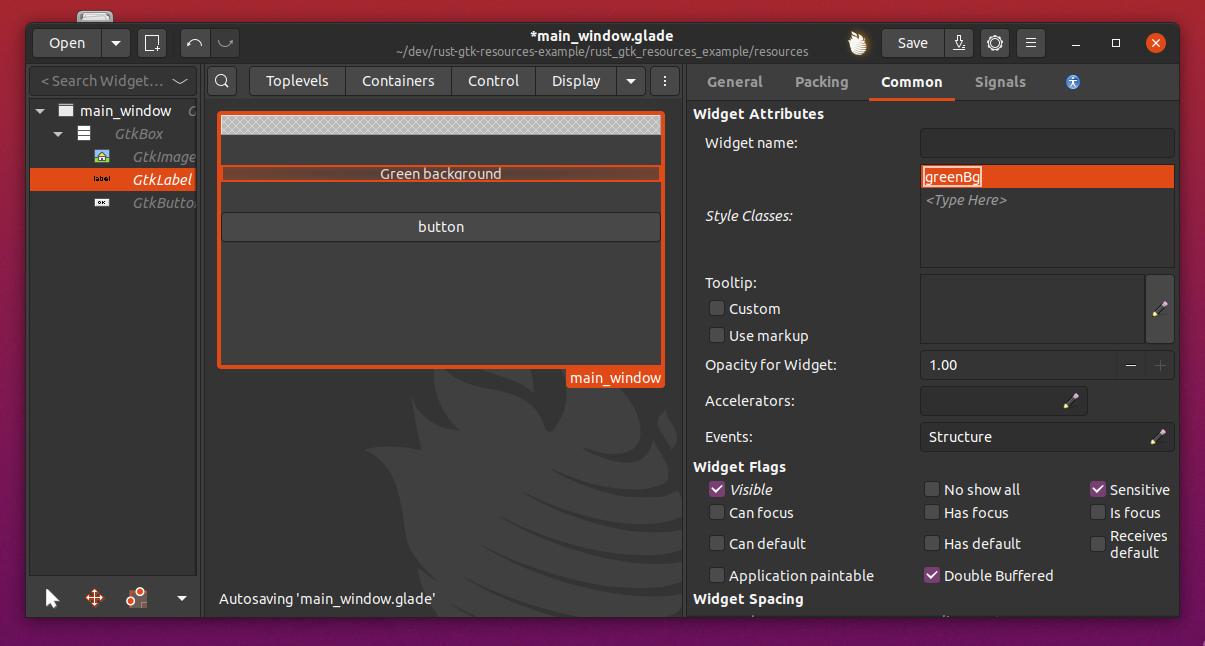
Lets open glade and create a simple UI:
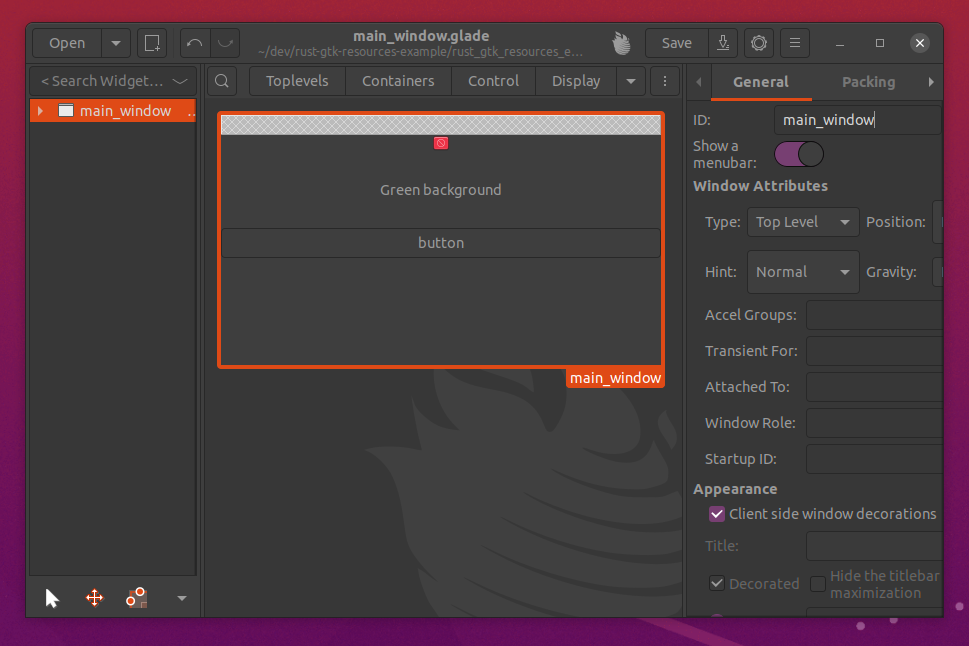
This UI contains an image, a label (that we will add a background to via CSS) and a button. The application window ID is main_window - this is important later so we can reference it in rust. Save it to the resources folder we created earlier. I called it main_window.
Now create a new file called resources.xml alongside our main_window.glade file and add the following contents:
<?xml version="1.0" encoding="UTF-8"?>
<gresources>
  <gresource prefix="/org/example/Example">
    <file>main_window.glade</file>
  </gresource>
</gresources>
This XML file tells GTK where our resources are and how to find them. All of our resources will get compiled into the application binary when we build. But first we need to bundle the resources.
To generate the bundle you can run: glib-compile-resources resources.xmls from the resources folder, but we don't want to do this by hand every time we build, so lets automate it.
Automate compiling the resource bundle
Rust supports a build script that will run before every build. Lets create one:
In the root of the project, create build.rs file
$ touch build.rs
$ tree .
.
├── build.rs
├── Cargo.lock
├── Cargo.toml
├── resources
│   ├── main_window.glade
│   └── resources.xml
├── src
│   └── main.rs
└── target
    ...
Open your build.rs file and add the following:
use std::process::Command;

fn main() {
    let _ = Command::new("sh")
                        .args(&["-c", "cd resources && glib-compile-resources resources.xml"])
                        .output()
                        .expect("failed to execute process");

}
This will compile your resources and drop a resouces.gresource file in the resources folder before every build. See it in action:
$ cargo build
$ tree .
.
├── build.rs
├── Cargo.lock
├── Cargo.toml
├── resources
│   ├── main_window.glade
│   ├── resources.gresource       <<< our compiled bundle
│   └── resources.xml
...
Loading resources
Now that we have a resource bundle that builds with our app, lets get our UI from the bundle and wire it up! Open cargo.toml and add the GTK Libraries:
[package]
name = "rust_gtk_resources_example"
version = "0.1.0"
authors = ["Your name"]
edition = "2018"

# See more keys and their definitions at https://doc.rust-lang.org/cargo/reference/manifest.html

[dependencies]
[dependencies.gtk]
version = "0.8.1"
features = ["v3_16"]

[dependencies.gdk]
version = "0.12.1"

[dependencies.glib]
version = "0.9.3"

[dependencies.gio]
version = ""
features = ["v2_44"]
Then open main.rs and updatet it to the following:
use gtk::*;
use gtk::prelude::*;
use gio::prelude::*;
use std::env::args;

fn main() {
    let application = gtk::Application::new(Some("com.example.example"), Default::default())
        .expect("Initialization failed...");

    application.connect_activate(|app| {

        // Load the compiled resource bundle
        let resources_bytes = include_bytes!("../resources/resources.gresource");
        let resource_data = glib::Bytes::from(&resources_bytes[..]);
        let res = gio::Resource::new_from_data(&resource_data).unwrap();
        gio::resources_register(&res);

        // Load the window UI
        let builder = Builder::new_from_resource("/org/example/Example/main_window.glade");

        // Get a reference to the window
        let window: ApplicationWindow = builder.get_object("main_window").expect("Couldn't get window");
        window.set_application(Some(app));

        // Show the UI
        window.show_all();
    });

    application.run(&args().collect::<Vec<_>>());
}
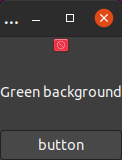
You should now be able to do a cargo run and see your UI!
Adding image resources
Now that we have the UI XML resource compiling and loading, lets add CSS and images.
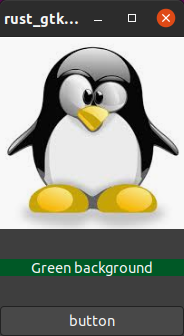
First lets populate our image view with a picture of our friend tux:

Put tux.png in your resources folder, and add it to your resources.xml
<?xml version="1.0" encoding="UTF-8"?>
<gresources>
  <gresource prefix="/org/example/Example">
    <file>main_window.glade</file>
    <file>tux.png</file>
  </gresource>
</gresources>
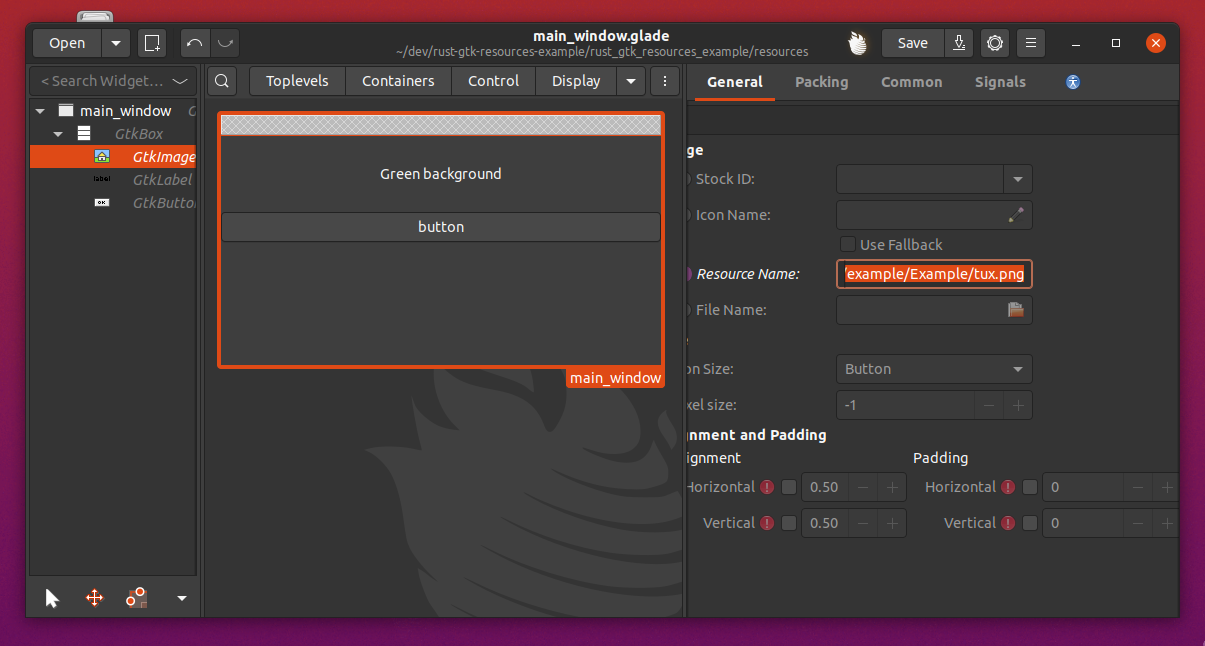
Go back to glade and add a reference to your image /org/example/Example/tux.png:
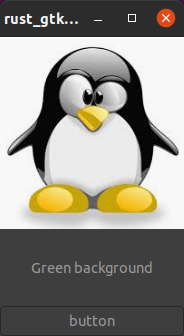
Now you can build and run $ cargo run
Adding CSS resources
You will often want to customize parts of GTK widgets that are not possible in Glade. Theam and styles are handled by CSS. CSS can also be loaded as a resource, so lets make the background green behind our label!
First add a style.css file in the resource folder containing:
.greenBg {
    background: #005826;
}
Add the CSS resource to the resources.xml
<?xml version="1.0" encoding="UTF-8"?>
<gresources>
  <gresource prefix="/org/example/Example">
    <file>main_window.glade</file>
    <file>tux.png</file>
    <file>style.css</file>
  </gresource>
</gresources>
Add the class to the label in Glade
Finally we have to update our rust code to load the styles:
use gtk::*;
use gtk::prelude::*;
use gio::prelude::*;
use std::env::args;

fn main() {
    let application = gtk::Application::new(Some("com.example.example"), Default::default())
        .expect("Initialization failed...");

    application.connect_activate(|app| {

        // Load the compiled resource bundle
        let resources_bytes = include_bytes!("../resources/resources.gresource");
        let resource_data = glib::Bytes::from(&resources_bytes[..]);
        let res = gio::Resource::new_from_data(&resource_data).unwrap();
        gio::resources_register(&res);

        // Load the CSS
        let provider = gtk::CssProvider::new();
        provider.load_from_resource("/org/example/Example/style.css");
        StyleContext::add_provider_for_screen(
            &gdk::Screen::get_default().expect("Error initializing gtk css provider."),
            &provider,
            gtk::STYLE_PROVIDER_PRIORITY_APPLICATION,
        );

        // Load the window UI
        let builder = Builder::new_from_resource("/org/example/Example/main_window.glade");

        // Get a reference to the window
        let window: ApplicationWindow = builder.get_object("main_window").expect("Couldn't get window");
        window.set_application(Some(app));

        // Show the UI
        window.show_all();
    });

    application.run(&args().collect::<Vec<_>>());
}
Finally you can see the green background!
Wrapping up
I hope you found this helpful - as I could not find a comprehensive guide when I first went though this. The full source for this guide can be found here: https://github.com/gh123man/Rust-GTK-Resources-Example